After years of watching my wooden raised beds slowly lose the fight against New England winters, I finally did what I probably should have done from the start — I tore them out and rebuilt everything with concrete block.
This wasn't a snap decision. Wood raised beds work. They're lightweight, easy to build, and they look great the first season. But here in New England, the freeze-thaw cycle is relentless. Moisture gets into the wood, expands when it freezes, and over a few winters the boards bow, split, and eventually rot from the inside out. My beds had hit that wall. It was time.
In this episode, I walk through the entire process — from pulling out the old beds to stacking the last block. Here's what I learned.
Why Concrete Block?
A few reasons pushed me toward concrete block over the alternatives.
Longevity. A properly built concrete block raised bed will outlast any lumber option, including cedar. We're talking decades, not years.
No mortar required. Standard 8x8x16 concrete blocks stack and interlock well enough for raised bed use without any mortar. That means the build is reversible and the blocks can be reused or reconfigured if your layout ever changes.
New England winters don't faze them. Concrete block handles freeze-thaw cycles far better than wood. There's no rot, no warping, and nothing for moisture to break down over time.
Flexibility. Want to go taller next year? Stack another course. Want to extend a bed? Add more blocks. The modularity is hard to beat.
The Block Count
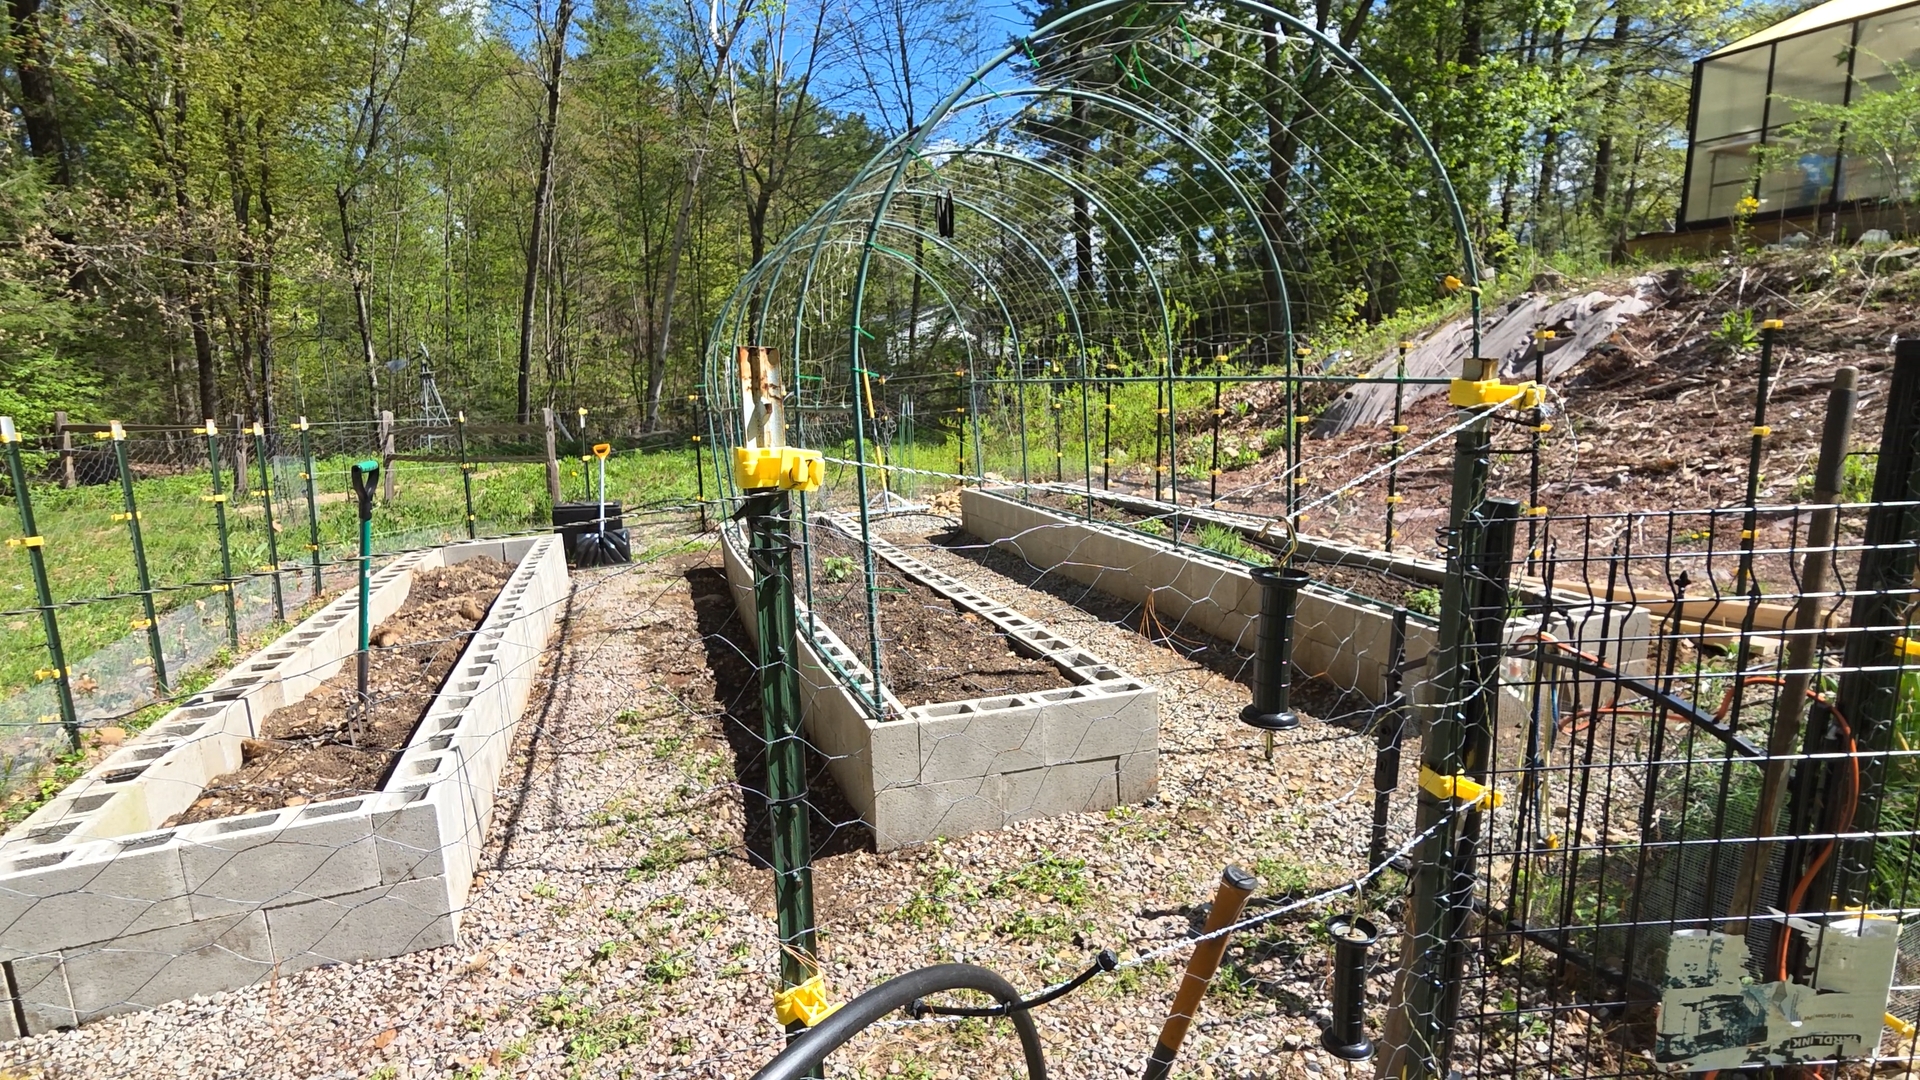
I rebuilt three beds total — two outer beds at approximately 32 inches wide by 17 feet long, and a wider center bed at 48 inches wide by 17 feet long. All three are built two courses high. The block of choice: standard 8x8x16 concrete blocks. For my layout, I needed approximately 170 blocks.
Pro tip: always order a few extra. Blocks occasionally come off the pallet with chips or cracks, and it's better to have spares than to make a mid-project run to the hardware store.
The Build Process
Step 1 — Remove the Old Beds. Pull out the old boards, clear the footprint, and deal with whatever the years have left behind. Save your existing soil — mine had been building up for years and represented a solid chunk of the fill I'd need for the rebuilt beds.
Step 2 — Lay Out Your First Course. The first course is everything. Take the time to get it level. If your first course isn't level, every course above it compounds the problem. Dry-fit the entire first course before committing.
Step 3 — Stack the Second Course. Offset your joints like you would with bricks — each block should span the seam of the two blocks below it. No mortar needed. The weight and interlocking pattern does the work.
Step 4 — Bring in a Partner. Moving 170 concrete blocks is not a solo project. Each block weighs around 30–35 pounds. My wife Aline helped with this build and I can't overstate what a difference it made. Recruit a willing gardening partner. Your back will thank you.
Filling the Beds
Three beds at this size need a substantial amount of soil — roughly 211 cubic feet total in my case. I reclaimed the existing soil from the old wooden beds and sourced the rest from my compost piles. If you're using homemade compost with pine-based materials, test your soil pH before planting. Garden lime is a simple and inexpensive fix if you're running acidic.
Final Thoughts
If your wooden beds are starting to show their age, concrete block is worth serious consideration. The upfront work is real — there's no getting around the fact that you're moving a lot of weight — but you do it once, and then you're done. No rot, no annual repairs, no boards pulling away from corner posts.
For more New England gardening guides, tips, and resources, visit newenglandharvester.com.
Whatever you're growing this season — grow it well.