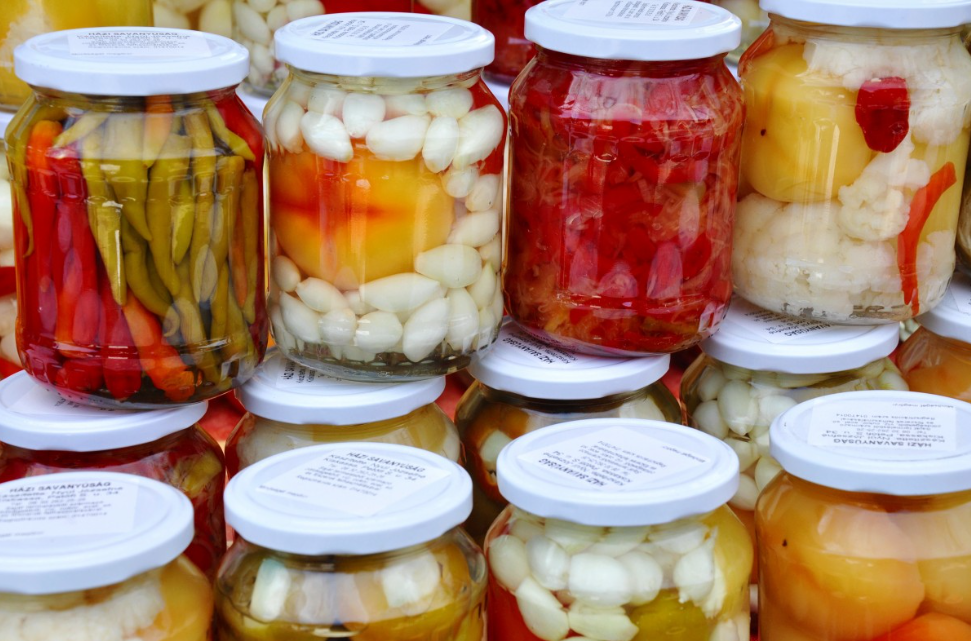
Canning day always starts with the same guess: how many jars is this actually going to make? Underestimate and you're short on jars mid-batch. Overestimate and you've sterilized more than you need. There's a real answer here, and it comes down to a yield ratio that varies by what you're actually canning.

Yield Depends on What's Going Into the Jar
Whole tomatoes pack differently than tomato sauce, and green beans pack differently than sliced peaches. As a rough guide, about 21 pounds of tomatoes makes 7 quarts whole, while sauce takes noticeably more raw tomatoes per jar since you're cooking down volume as you go. That gap is the whole story with sauce specifically: a thin sauce means boiling off about a third of the volume, a thick sauce means boiling off about half, so the same pile of fresh tomatoes on your counter can turn into meaningfully different jar counts depending on how long you let it reduce. These numbers move around based on ripeness and variety, so treat any yield estimate as a planning number, not a promise.
Altitude Changes Your Processing Time, and It's Not Optional
This is the part that actually matters for food safety, not just convenience. Water boils at a lower temperature as elevation increases, around 212°F at sea level but closer to 203°F by 5,000 feet. A boiling water bath can never get hotter than boiling, so at higher elevations, that lower temperature means less heat actually penetrating the jar in the same amount of time. The fix is straightforward: add time to your recipe's base processing time based on your altitude.
The standard adjustment, most home canning guides:
- 1,001–3,000 feet: add 5 minutes
- 3,001–6,000 feet: add 10 minutes
- 6,001–8,000 feet: add 15 minutes
- 8,001–10,000 feet: add 20 minutes
Never round down. If you're right at the edge of a tier, treat yourself as being in the higher one.
Get all the canning supplies hereThis Only Covers Water Bath Canning
Boiling water bath canning works for high-acid foods like tomatoes, fruit, pickles, and jam. Low-acid vegetables and any meat require pressure canning instead, with its own altitude adjustments based on pressure rather than time. That's a different process with different safety margins, and it's worth using a current, tested recipe from the USDA or National Center for Home Food Preservation rather than guessing.
One detail that trips people up: tomatoes are technically borderline, not clearly high-acid. Modern varieties, over-ripe fruit, and anything from a frost-killed vine can sit right at the edge of what's considered safely acidic, which is why every tested tomato recipe, whole, crushed, juiced, or sauce, calls for adding bottled lemon juice or citric acid before processing. That requirement doesn't go away even if you pressure can instead of water bath can. The pressure process for tomatoes was only ever tested with that added acid already in the jar, so skipping it isn't a safe shortcut either way.

A Straightforward Fresh Tomato Sauce, Ready for the Water Bath
This is a plain, versatile base sauce, built to be canned safely and seasoned later depending on what you're making with it.
What you'll need (per quart jar):
- Fresh, ripe tomatoes, as many as you're processing (paste-type varieties like Roma give a thicker sauce with less cooking time, but any ripe tomato works)
- 2 tablespoons bottled lemon juice, or ½ teaspoon citric acid (required for safe canning, not optional)
- 1 teaspoon salt (optional, for flavor only)
For pint jars, cut the lemon juice to 1 tablespoon, the citric acid to ¼ teaspoon, and the salt to ½ teaspoon.
Method:
- Wash the tomatoes and trim off stems and any bruised or damaged spots. No need to peel or seed yet.
- Quarter the tomatoes into a large, wide pot over high heat, crushing them as you add more to get juice flowing and the pot boiling quickly. Keep adding quartered tomatoes as room allows, stirring frequently.
- Once everything is in and at a boil, let it simmer hard for 5 more minutes.
- Run the mixture through a food mill or sieve to remove the skins and seeds. This step matters, don't skip it, since skins and seeds carry more of the bacterial load that canning is meant to control.
- Return the strained juice to the pot, bring it back to a boil, then drop to a steady simmer. Cook it down, stirring occasionally so it doesn't scorch on the bottom, until it's reduced by about a third for a thinner sauce or about half for a thick one. Depending on your batch size, this can genuinely take a couple of hours.
- Have your jars clean and hot. To each jar, add the lemon juice or citric acid first, then the salt if using, before adding any sauce.
- Ladle the hot sauce into the jars over the acid, leaving ¼-inch headspace. Run a thin spatula around the inside to release air bubbles, wipe the rims clean, and add lids and bands to fingertip tight.
- Process in a boiling water bath: 35 minutes for pints, 40 minutes for quarts, before any altitude adjustment. Add the extra minutes for your elevation from the chart above.
If you want to add dried herbs, keep it to about ½ teaspoon per pint or 1 teaspoon per quart, added to the jar along with the acid. Plenty of experienced canners skip this step entirely and add herbs fresh when the jar gets opened months later instead, since dried herbs can lose flavor sitting in the jar over time, and it keeps the base sauce more versatile for whatever you end up cooking with it.
I built a free canning batch calculator that estimates your jar yield based on what you're canning and how much you've got, plus tells you exactly how many minutes to add to your recipe's water bath time for your specific altitude.
Whatever you're growing this season, grow it well.
Comments
Loading comments…